The connection
Four parts carry the fly from your reel to the river.
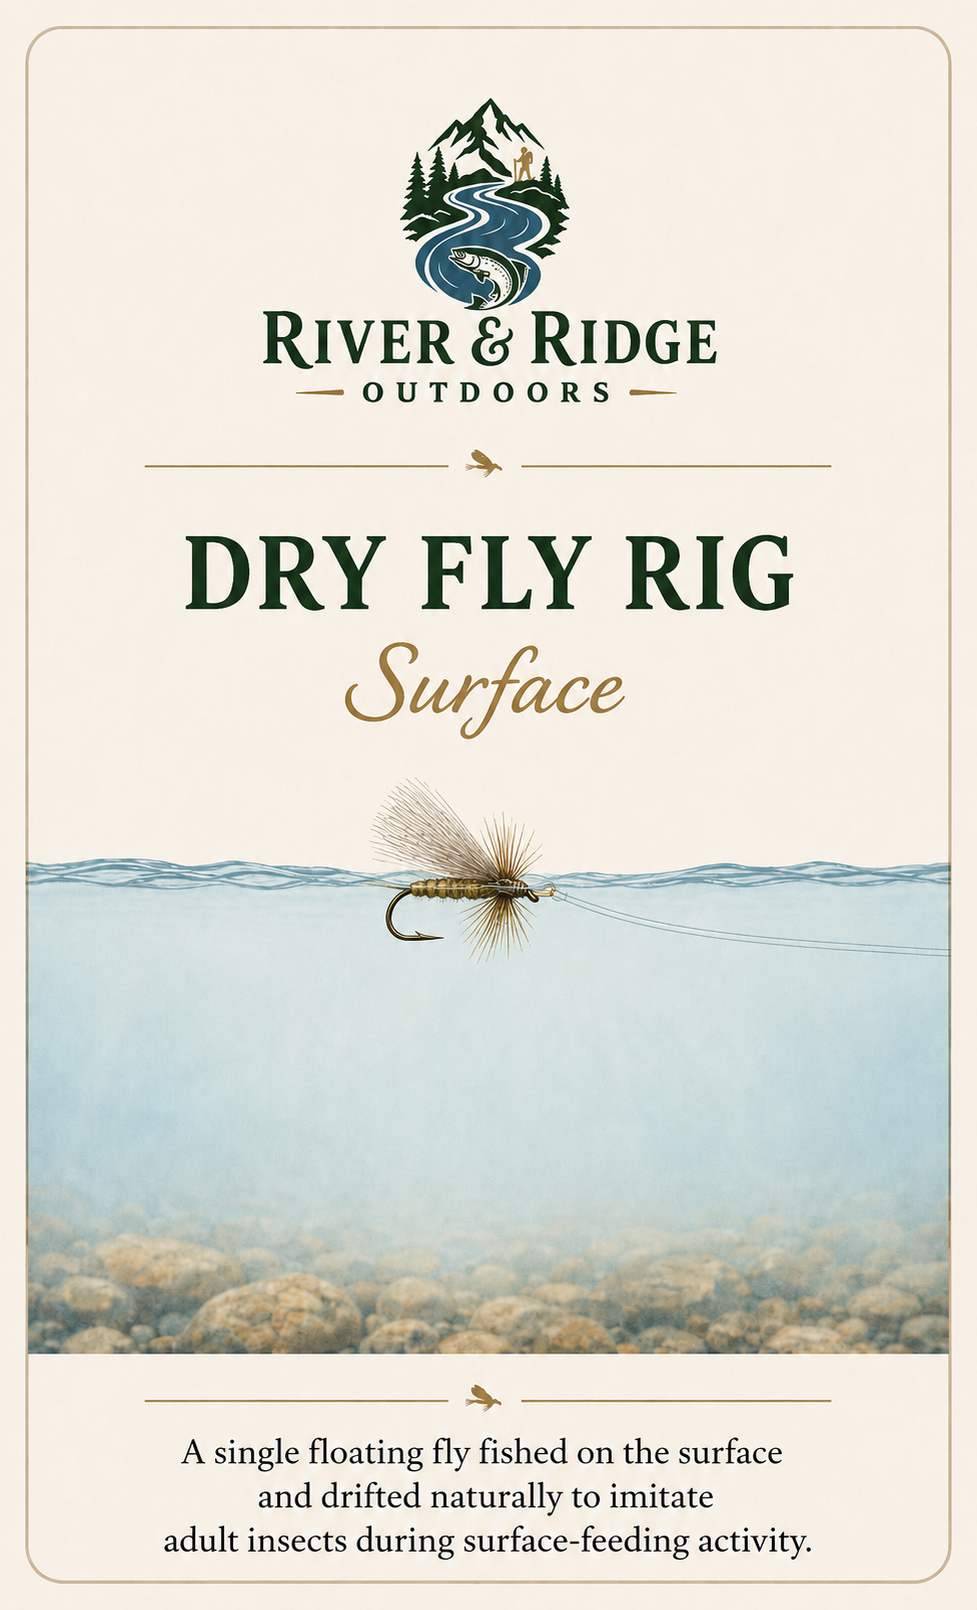
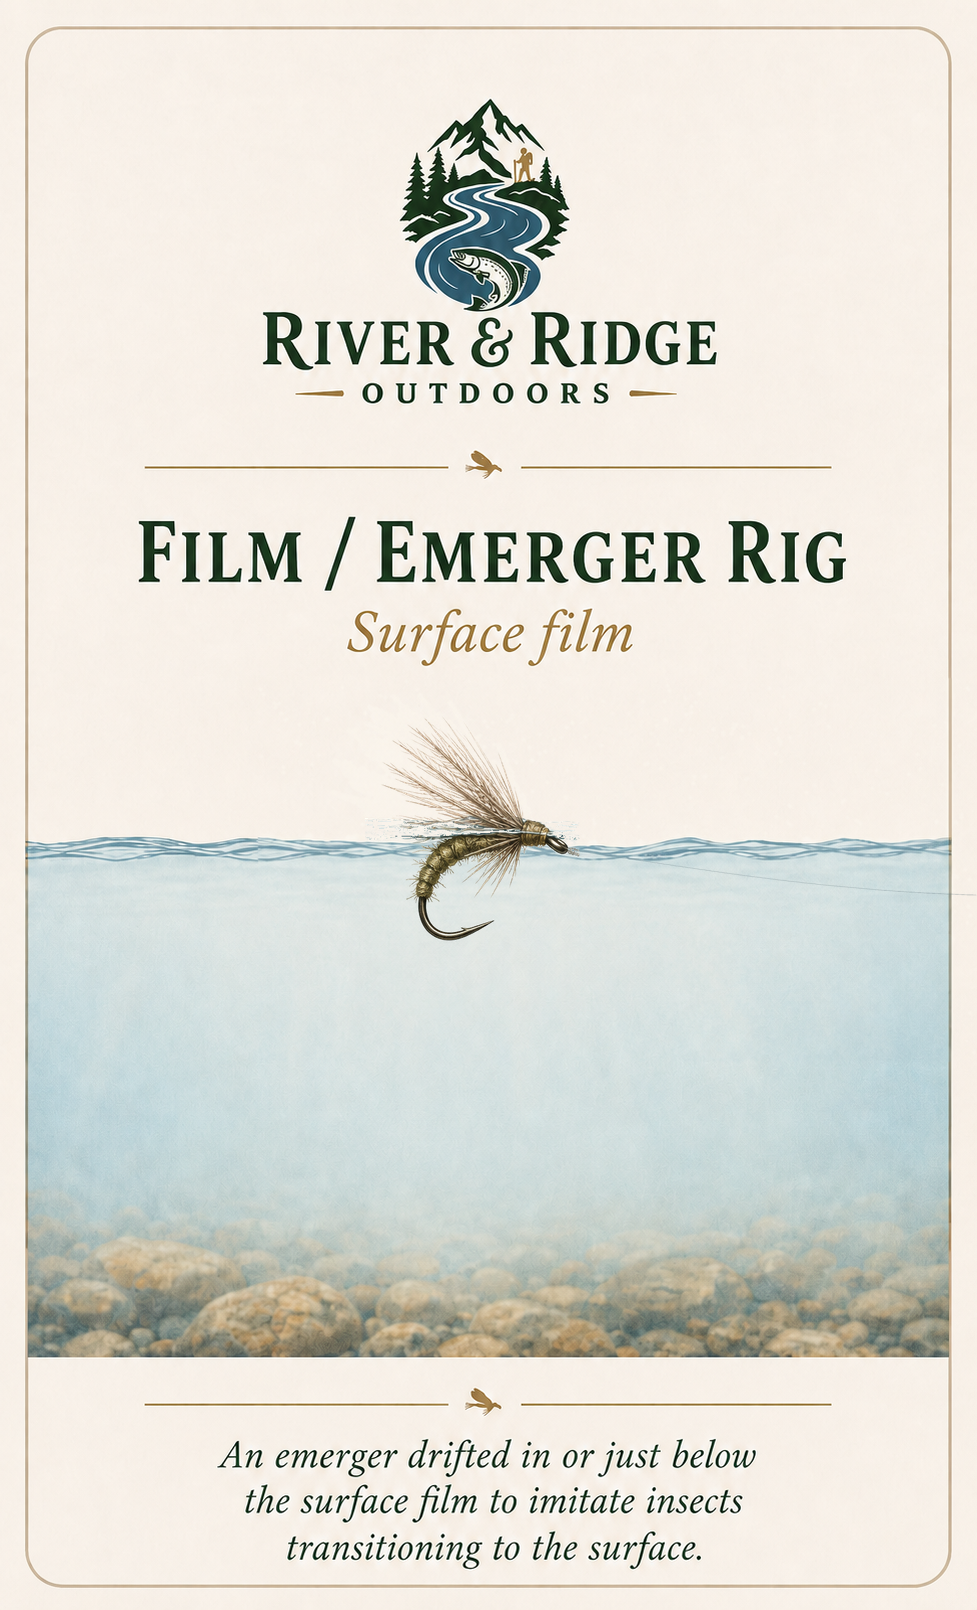
Approved rig visuals
See where the fly belongs in the water.
These are the exact approved River & Ridge cards. They are shown unchanged.
Match the rig to the section
Build the rig shown for the fly you selected.
Single dry fly
Begin with the dry-fly rig shown for the selected fly. The first skills are approach, line control, and recognizing drag—when the current pulls the fly unnaturally.
Emerger or soft hackle
Use the matching film rig to hold the fly in or just below the surface. A dry-dropper is used only when the specific fly and situation support it.
Nymph, wet fly, or streamer
Follow the Subsurface card to the correct rig. This section may use depth control, a soft-hackle presentation, or an active streamer approach.
Build before you cast
Use the same short check for every rig.
- Confirm the box section and fly.Surface, Film, or Subsurface should match the clue you observed.
- Gather only the listed materials.Use the leader, tippet, indicator, weight, or dropper material shown on the matching rig card.
- Tie the shown knots.Check each connection with a firm pull before fishing.
- Check fly orientation and spacing.The rig card shows where each component belongs.
- Begin with the shown presentation.Make several comparable attempts before following the adjustment path.
Nymphing only
Use the locked nymph adjustment order after the rig is fishing.
This sequence belongs to the nymph path. Dry flies, film presentations, and streamers use their own adjustment paths on the next page. See where a nymph fishes in the water column.
Help refine this page
Did this make the next river decision clearer?
Tell us what helped, what remained confusing, and what a beginner would still need before using this guidance in the field.
Give Feedback